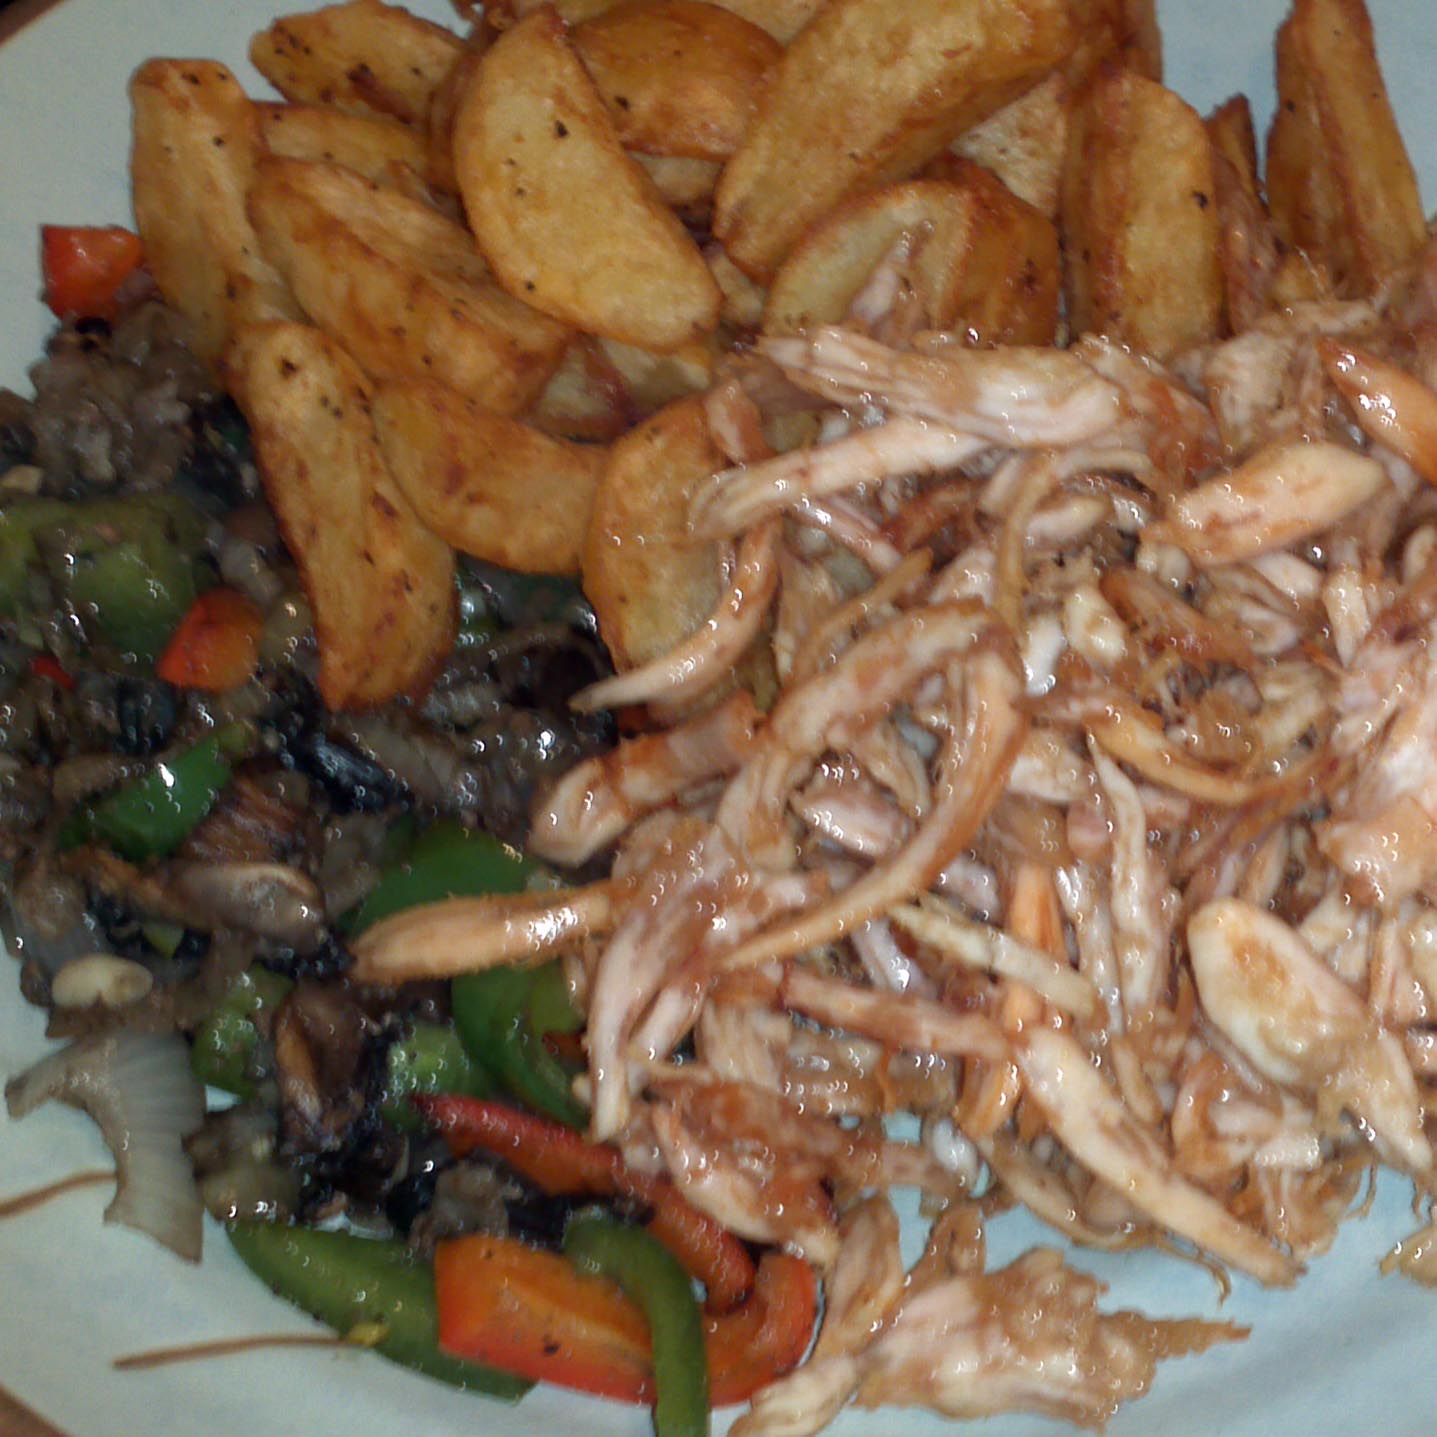
Ultimate chips – light and fluffy inside yet crunchy on the outside
There is a ton of stuff out there about chips, that simple mainstay of English grub. We consume thousands of tonnes every year of these wonderful creations yet in my experience most of them are a pale imitation of what they should be. It has taken me months of experimentation to find the recipe that works in my kitchen for us.
Now I am not professing to be offering any startling new information here, rather I see it as a distillation of all the volumes of pages I have read, applied, modified or rejected. There are dozens and dozens of recipes on the internet should you enter a search for “making perfect chips” and it may seem straight forward, but experience has taught me that it is anything but.
There are also several concepts that need to be addressed, namely, temperature, timing, potato and shape. Mastering these pillars of the perfect chip will ensure consistent results. In my understanding the perfect chip is a light fluffy middle with a nice crisp exterior that has a crunch/snap value as you bite into it. Now we know our end goal we can take steps to get as close as possible to it.
So let us examine the pillars one at a time:
Temperature
As you know and even if you don’t you will suspect it but temperature is vital in all cooking and is especially true with chips. If you don’t have a thermometer near to hand in the kitchen you will make many more disasters as a home cook. When I made the quantum leap to using one I discovered that in my deep fat fryer when I had heated the oil up to 180C and added the chips for their final cook, dropped to 110-120C and never returned to the correct temperature before they were cooked. The result was inevitably non perfect chips. There only two options to this problem as far as I can tell, first get a bigger fryer so the volume of oil is less affected by the cold chips being dunked into it, or cook in smaller batches, the cheaper and more realistic option.
Timing
There is no avoiding the issue but time is also vital, to cook a perfect chip takes time, a lot of time. Now it is not always busy time, most of the time is spent waiting, but chips really do require planning for. Everyone thinks that chips are quick and easy, peel a spud, heat oil, dunk and go, bish-bosh job done and if you want soggy Fish & Chip shop style chips that’s the way to go. Crunch however takes time to cultivate. Two days in reality is a reasonable time frame.
Potato
You cannot make a silk purse out of an old sow’s ear the saying goes. The same can be said for your potatoes. There are hundreds of varieties of potato and some make excellent chips and some make horrible chips. The problem is compounded by the modern day approach form our main supermarket chains of removing the name of the potato and replacing that with a non specific title as “Everyday” potato. What does that mean? Now having tried so many different potatoes the best results I have achieved have been from Yukon Gold, a wonderful potato but not easy to get hold of in the UK, if you know of a supplier then let me know! The end result is I have settled on Maris Piper as the potato of choice, it makes an excellent example of a chip and more importantly it is fairly easy to get hold of when you’re out shopping.
Shape
The last of our four pillars, and I strongly suggest that you start of by making chips that are around the thickness of a small digit, more specifically my small finger but as you don’t have one of them, find the nearest male small finger and use that as a guide. This size proved through experimentation to be the easiest size to work with and get consistent results. Micro fries are a nightmare to make, but become much easier when you have mastered the cooking of the fatter chip. Final point regarding size, when you are selecting your potatoes you are going to use try and pick a bunch that are all roughly the same size and shape. The reason being, that when you actually chip the potato you want the resulting chips to be all be pretty much the same size so they will all behave the same way through the cooking process.
Now working on the assumption that it will only be serious cooks that have read this article to this point I would make one final point of guidance. Don’t try doing this as a first attempt when preparing dinner, it is unbelievably easy to mess up and get an inferior product, so to avoid dinner time disappointments, practise. Next time you are in the kitchen messing around cooking something else for dinner, take just one potato and work with that until you have achieved your desired chip.
So finally to the cook…
- Take your collection of Maris Piper potatoes that are all the same size and peel them. Give them a wash and place in a bowl of cold water for half an hour.
- Remove and cut into chips about the thickness of a little finger or wedges. Discard the edges and do not be tempted to cook them as well, they won’t turn out nice and they will play havoc with the temperature of our oil later. Put the oven on to 200C.
- Place the chips back into a bowl of clean water for another half an hour.
- Strain the chips and leave to air dry for 10 minutes. Spread the chips out across a large flat baking sheet and then take some kitchen towel and pat dry. Turn the chips several times during the patting process and don’t forget to keep wiping the baking sheet to keep it dry. Moisture is the arch enemy of crispy, so remove as much as possible.
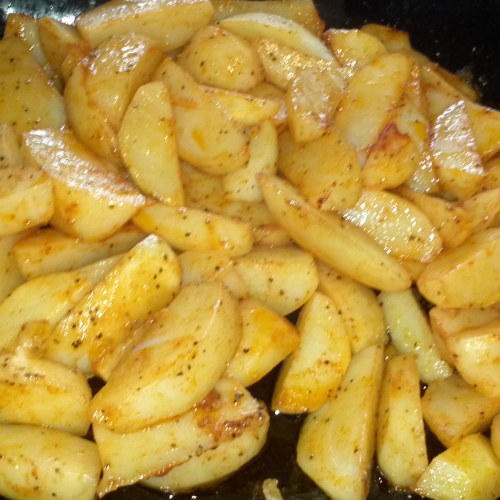
- Drizzle olive oil over them and sprinkle some salt and pepper on. Turn on your hot tap so it has a chance to get warm whilst you dive into the chips with your hands and give them a good toss about so they are all covered in the oil, salt and pepper.
- Wash your hands in the nice warm water, thus avoiding the turning of tap on with oily fingers and all the hysterics that can cause.
- Pop into the over for around 15 minutes. What we are trying to achieve here is a slight cooking of the outside of the chip whilst keeping the inside uncooked. The chips will change colour and have a slight opaque quality along the surfaces. Additionally we are wanting a slight fluffing of the edges, this is the base of our future crispy chip.
- Remove from the oven and allow to cool completely on a worktop, don’t cover as we want the steam to take as much nasty water away as possible.
After oven stage
- When cold pop them into the freezer, so they can carry on steaming and drying.
- After a couple of hours remove from the freezer and allow to warm up for half an hour.
- Heat up as much oil as you safely can in your largest stock pot. Remember the more oil you have the less the impact of the cold chips going in will be. You want your thermometer to be reading 150C. Now add chips until the temperature drops to now lower than 140C. If you have managed to get all your chips in then excellent, if not then like me you’re cooking in batches.
- Cook for 3 minutes, no more, no less. Here we are after getting the middles cooked, adding a little more colour and setting them up for the final cook.
Deep frying stage
- Remove with a slotted spoon carefully, they are pretty cooked by now and will be prone to breaking, so treat like a Ming vase. Place them back on your baking sheet, making sure it was dry first.
- When all the chips are cooked allow to cool completely again and pop them back into the freezer till you want to use them.
- 40 minutes before you want to use your chips remove them from the freezer and allow to warm up a bit.
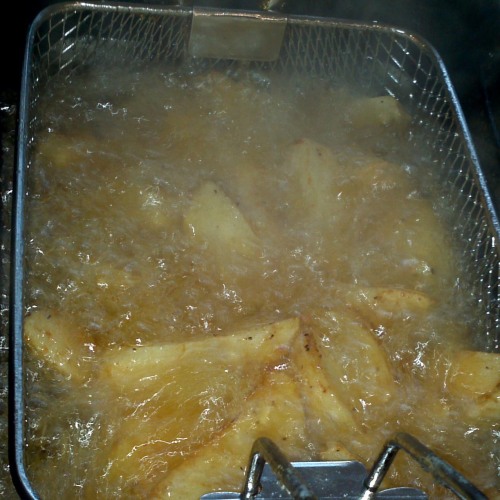
- Heat your oil again and this time we want a temperature of 180C. Again add chips, making sure the temperature of the oil doesn’t drop by any more than 10C.
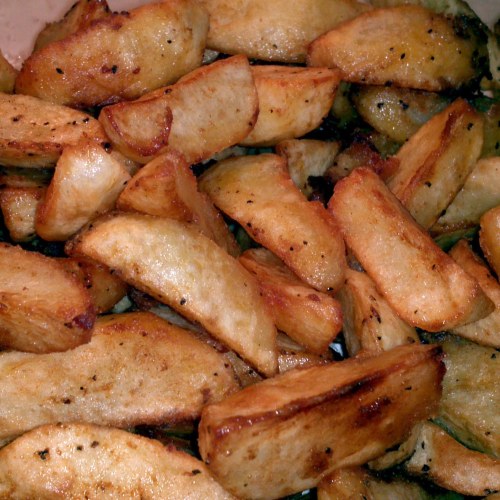
- Cook till they are golden brown, drain and place into a large bowl you have lined with kitchen paper.
- Add salt and pepper to taste, and to be really posh fine grate some fresh Parmesan cheese over the top. When all toppings are added toss and serve with the rest of your dinner.

Serve on its own or as a part of your dinner
- Relax and enjoy the feedback of “ooo’s”, “mmmm’s” and “aaahhs”.

This post is an entry for #MarisPiperBritMums Linky Challenge (http://bit.ly/185Gtlv) sponsored by Potato Council for Potato Week 7 – 13 October, celebrating the varieties of potatoes and how we like to eat them. Learn more and find recipes at www.lovepotatoes.co.uk


 2. While your potatoes are boiling get chopping. Chop your onions and prepare the mint.
 5. Once nicely cooled down and totally dry, it is time to cut them into your desired size of chunks. We like out potatoes salad to have some big chunks so I only cut them in half or quarters depending on the original size of the potato.
 6. Now pop your potatoes, onions and mint into a bowl; add salt and paper; add 2 table spoons of mayonnaise and mix well… but gently… you do not want to damage the shape of the already fragile potatoes 😉 Remember not to add to much mayonnaise; the potatoes should be just coated not covered completely so they are drowning in it.
 This is one of those dishes you can prepare ahead of time, just cover the bowl with some cling-film and pop into the fridge till needed. Remember to take out half an hour before eating so it isn’t ice cold.